
TM 5-3810-300-24 & P2
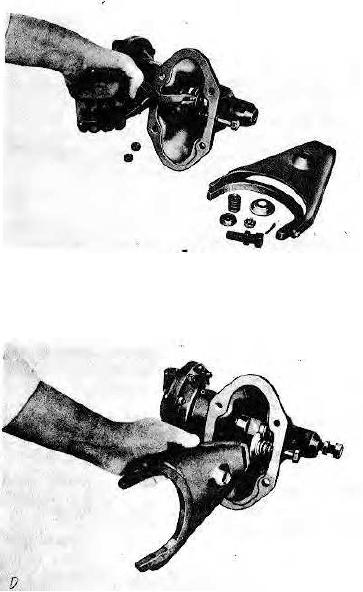
A.
Install the shift shaft and chamber assembly into
housing assembly and install snap ring in shaft
groove.
B. Install next to snap ring the snap ring spring retainer and spring.
C. Proceed with inserting the shaft until chamber mates with housing studs and gasket. Install lock washers and nut
and tighten nuts to specified torque. Install the adjusting screw and lock nut.
D.
Install on the body fit housing bolt the spring, cup
and lever. Make sure lever end enters the shift
shaft slot. Install the button and nut. Tighten nut
securely with box wrench and cotter key.
E. Position the shift and housing assembly into the carrier assembly against a new gasket, exercising care to
properly locate the shifter yoke into clutch collar groove.
Lock-Out Engaged, Rear Adjusting Screw.
1. Back-off adjusting screw lock nut so screw is free-turning.
2. Shift assembly to engaged position with power chamber. Be sure shift collar is fully engaged with rear
gear.
3. Turn-in screw until it is finger-tight against push rod.
4. Turn-in screw 1/2 revolution more to center fork in groove.
5. Tighten lock nut to specified torque.
13. Clean and Inspect Housing, Assemble Drive Unit.
A. Remove any accumulation of dirt, grit or gum from housing bowl and sleeves. - Clean housing thoroughly with
solvent and blow dry with compressed air.
4-260

