
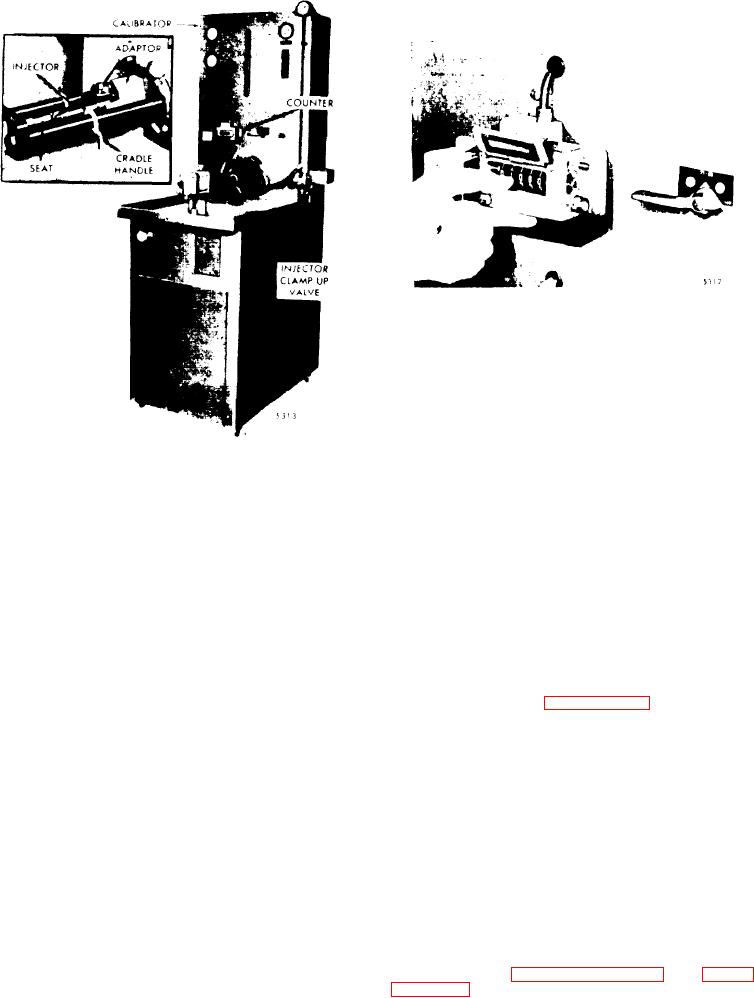
Figure 11C-22. Setting Calibrator
Stroke Counter
at a given throttle setting, thus result-
ing in a smooth running, well balanced
engine.
An injector which passes all of the above
tests may be put back into service.
However, an injector which fails to pass
Figure 11C-21. Injector in
one or more of the tests must be rebuilt
Calibrator J 22410
and checked on the calibrator.
NOTE
Any injector which is disassembled and
rebuilt must be tested again before being
The low oil pressure warning buz-
placed in service.
zer will sound briefly until the lu-
bricating oil reaches the proper
pressure.
D i s a s s e m b l e Injector
If required, disassemble an injector as
5. After the calibrator has started, set
follows:
the injector rack into the full-fuel posi-
tion. Allow the injector to operate for
1. Support the
injector upright in injec-
approximately 30 seconds to purge the
tor holdin
g fixture J 22396
a i r that may be in the system.
(Figure 11C-23
on page 11C-15) and re-
move the filter
caps, gaskets and filters.
6. After the air is purged, press the fu-
el flow start button (red). This will
start the flow of fuel into the vial. The
NOTE
fuel flow to the vial will automatically
Whenever a fuel injector is disas-
s t o p after 1000 strokes.
asembled, discard the filters and
gaskets and replace with new fil-
7. Shut the calibrator off (the calibrator
ters and gaskets.
will stop in less time at full-fuel).
8. Obeserve the vial reading. The vial
2. Compress the follower spring as
reading should be a minimum of 71 and a
shown in Figure 11C-12 on page 11C-8.
maximum of 76. If the quantity of fuel in
Then raise the spring above the stop pin
the vial does not fall within these limits,
with a screw driver and withdraw the
refer to "Troubleshooting" on page
p i n . Allow the spring to rise gradually.
11C-50 for the cause and remedy.
3.
Refer
to
on
The calibrator may be used to check and
11C-15 and remove the plunger follower,
select a set of injectors with will inject
plunger and spring as an assembly.
the same amount of fuel in each cylinder

