1
Screw, 10-32 x 7A6 in. (8 rqr)
7
Washer, lock, No. 10 (2 rqr)
2
Washer, lock, ET, No. 10 (8 rqr)
8
Washer, flat, No. 10 (2 rqr)
3
Plug, 3/8 -24 x 1/8 in.
9
Spring
4
Cover
10
Distributor cap
5
Gasket
11
Gasket (2 rqr)
6
Screw, 10-32 x in. (2 rqr)
A. Distributor cap
1
Nut, 10-32 (2 rqr)
6
Washer, lock, No. 10 (4 rqr)
2
Lock, special (2 rqr)
7
Plate
3
Coil condenser wire
8
Coil
4
Jumper wire
9
Gasket
5
Screw, 10-32 x in. (4 rqr)
B. Ignition coil
1
Rotor
7
Washer, lock, No. 8
2
Nut, 6-32
8
3
Lock, special
9
Bracket
4
Screw, cap, 6-32 x 3/8
10
Screw, 8-32 x 1/8 in. (2 rqr)
5
Jumper wire
11
Breaker point
6
Screw, 8-32 x 14 in.
12
Contact and support point
C. Rotor and points
1
Breaker plate
6
Weight.(4 rqr)
2
Nut, 8-32 (2 rqr)
7
Cam
3
Lockplate (2 rqr)
8
Shaft and weight base assembly
4
Cover
9
Thrust washer
5
Weight spring (2 rqr)
D. Breaker plate and weight base assembly
1
Screw, 8-32 x 3/8 in.
14
Washer, lock, No. 6 (4 rqr)
2
Lock, special
15
Terminal coupling
3
Ignition coil condensor
16
Gasket
4
Spring
17
5
Nut, 8-32
18
Spring
6
Washer, lock, No. 8
19
Pin
7
Washer, flat, No. 8
20
Coupling
8
Screw, 8-32 x 3/8 in. (2 rqr)
21
Shim, 0.05 in. (as rqr)
9
Washer, lock, No. 8 (2 rqr)
22
Shim, 0.10 in. (as rqr)
10
Bracket
23
Sleeve bearing
11
Resistor
24
Breather
12
Spring
25
Plug, 3/8 -24 x 1/8 in.
13
Screw, 6-32 x 3/8 in. (4 rqr)
26
Distributor housing
E. Distributor housing, resistor, and condensors
Figure 10.-Continued.
b. Disassembly. Disassemble the engine clutch
assembly in numerical sequence as illustrated on figure
85.
Crane Engine Clutch Assembly Cleaning,
Inspection, and Repair
a. Cleaning. Clean all parts with an approved
cleaning solvent and dry thoroughly.
b. Inspection and Repair.
Inspect drive plate
segments for heat discoloring. Inspect all parts for
excessive wear and damage. Check end play for proper
clearance of 0.004 to 0.007 inch. Replace or repair all
defective parts.
86. Crane Engine Clutch Assembly Reassembly and
Installation
a. Reassembly. Reassemble the engine clutch
assembly in the reverse of the numerical sequence as
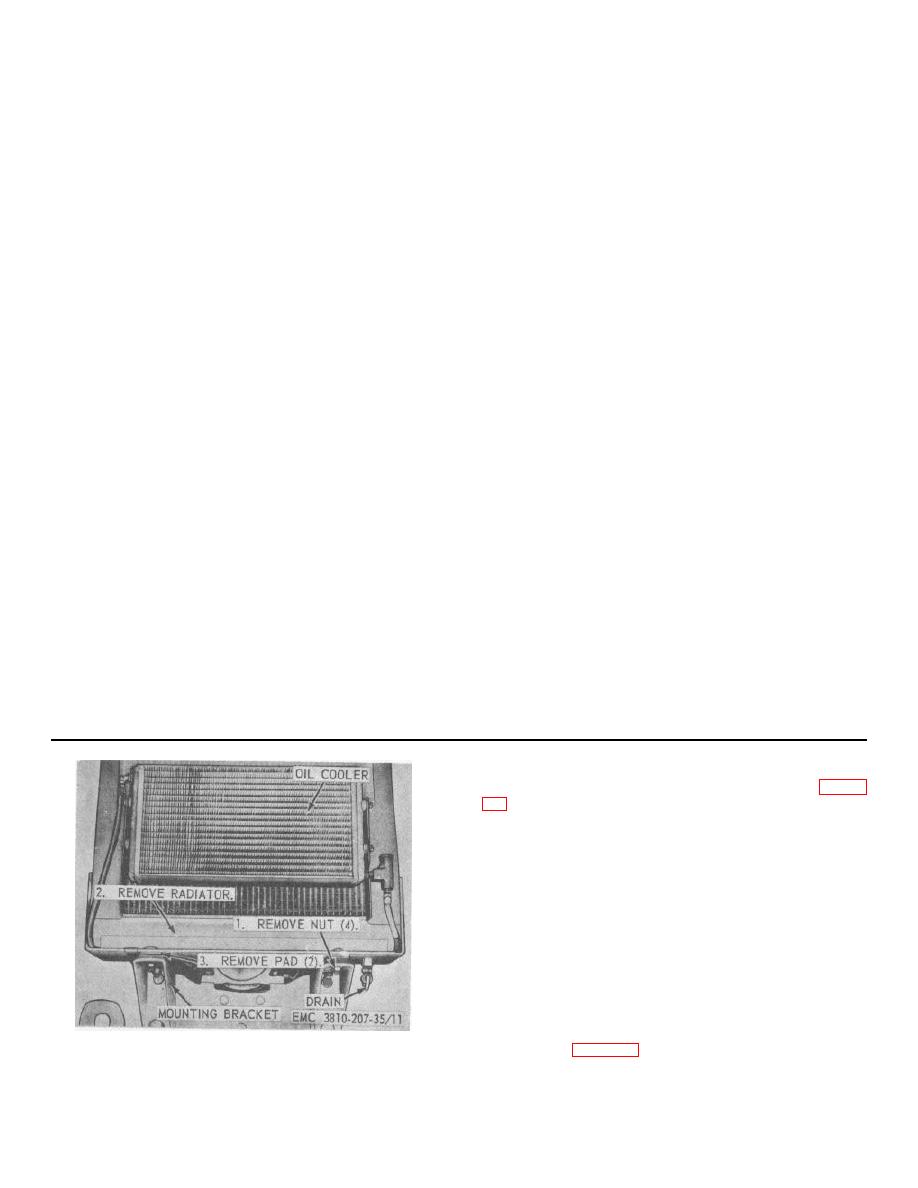
Figure 11. Crane engine radiator assembly, removal
illustrated on figure 14.
and installation.
45


