TM 5-3810-300-24&P-3
Specifications 1.0
CHECKING BEARING CLEARANCES
.002 " to .006" and type PB-I (blue) has a range of .004"
to .009" .
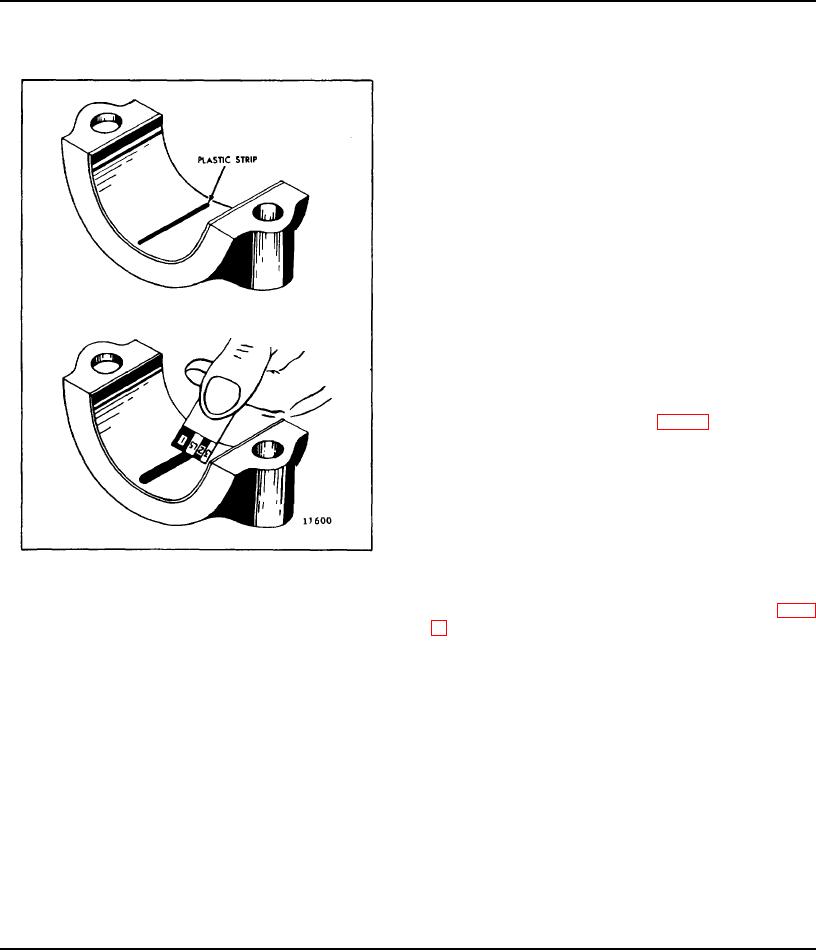
The plastic strip may be used for checking the bearing
clearances as follows:
1. Remove the bearing cap and wipe the oil from the
bearing shell and the crankshaft journal.
NOTE: When checking the main bearing
clearances with the engine in a position where
the main bearing caps are supporting the
weight of the crankshaft and the flywheel, an
erroneous reading, due to the weight of the
crankshaft and flywheel, can be eliminated by
supporting the weight of the crankshaft with a
jack under the counterweight adjoining the
bearing being checked.
2. Place a piece of the plastic strip the full width of the
bearing shell, about " off center (Fig. 2).
3. Rotate the crankshaft about 30' from bottom dead
center and reinstall the bearing cap. Tighten the bolts to
the specified torque.
4. Remove the bearing cap. The flattened plastic strip
will be found adhering to either the bearing shell or the
crankshaft.
Fig. 2 - Using Plastic Strip to Measure
5. Compare the width of the flattened plastic strip at its
Bearing-to-Crankshaft Clearance
widest point with the graduations on the envelope (Fig.
2). The number within the graduation on the envelope
A strip of soft plastic squeezed between the crankshaft
indicates the bearing clearance in thousandths of an
journal and the connecting rod bearing or main bearing
inch. Taper may be indicated when one end of the
may be used to measure the bearing clearances.
flattened plastic strip is wider than the other. Measure
each end of the plastic; the difference between the
The strip is a specially molded plastic "wire"
readings is the approximate amount of taper.
manufactured commercially and is available in three
sizes and colors. Type PG-I (green) has a clearance
range of .001 "to .003", type PR-I (red) has a range of
Page 143

