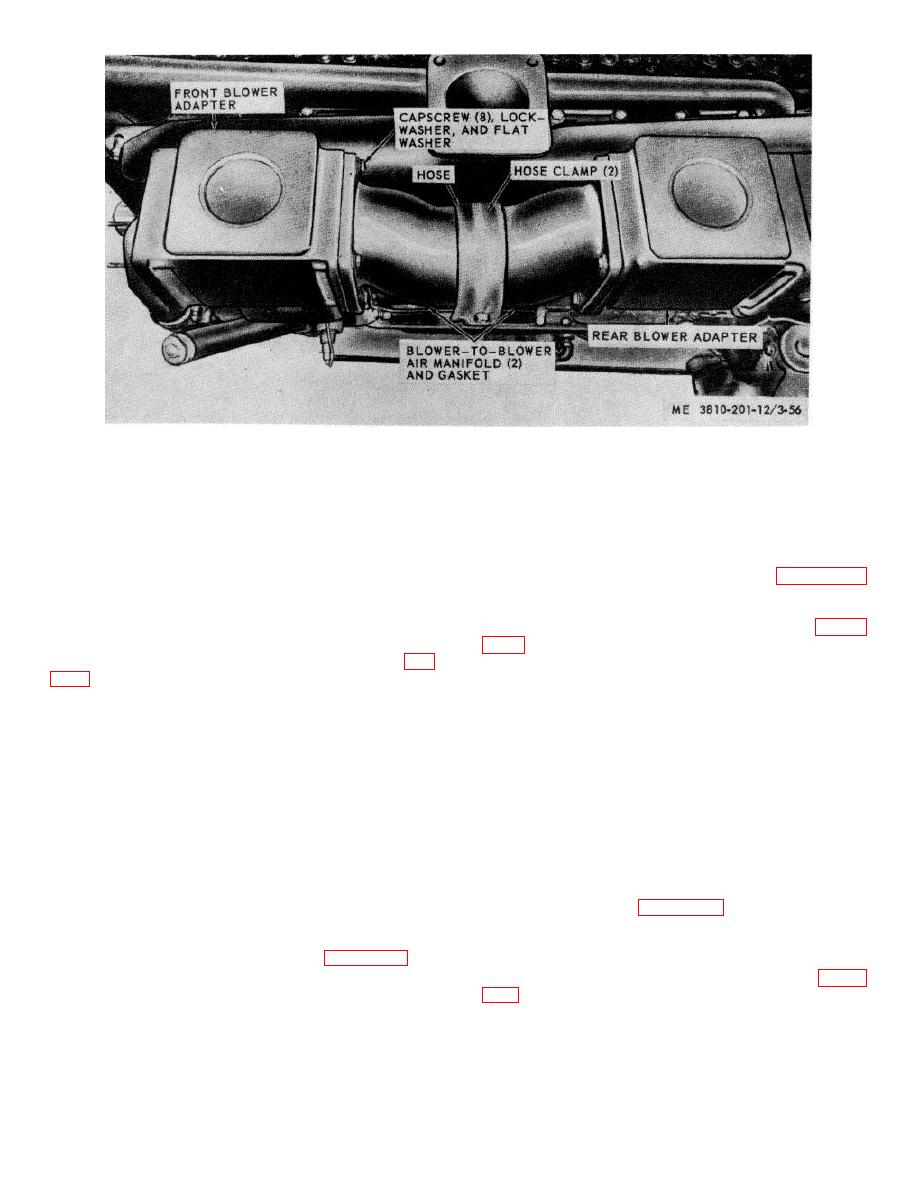
Figure 3-56. Air manifold and blower adapters, installed view.
(2) Visually inspect all parts for bends, breaks,
gallon of fuel oil into tank and slosh it around to pick up
cracks, or other defects. Replace all defective parts.
remaining moisture. Let tank set in normal position for
about 10 minutes, then remove drain plug and drain
tank. Install drain plug.
3-74. Primary Fuel Filter (Engine Model 687C-18-ES
(e) Install fuel tank by reversing procedure
Only)
used to remove in (a) above.
remove items 1 through 3, then remove filter from
3-72. Filler Pipe and Fuel Level Gage (Crane Model
engine. Install in reverse order.
855BG3 Only)
a. Removal and Installation.
(1) Remove six capscrew and lockwasher (fig.
through 13 in numerical sequence from item 14.
Reassemble in reverse order.
gasket from revolving frame.
c. Cleaning, Inspection, and Repair.
(2) Remove four screw and lockwasher, then
(1) Clean all parts in an approved cleaning
remove fuel level gage and gasket.
solvent and dry thoroughly.
(3) Install in reverse order.
(2) Visually inspect all parts for damage or defect.
b. Cleaning and Inspection.
(3) Repair by replacing defective parts. Replace
(1) Clean all parts in an approved cleaning
all gaskets as reassembly.
solvent and dry thoroughly.
(2) Visually inspect all parts for bends, dents,
3-75.
Fuel Filter (Secondary on Engine Model
cracks, or other damage.
Inspect gaskets for
687C-18-ES)
deterioration. Inspect mounting hardware for stripped
a. Secondary Fuel Filter on Engine Model 687C-18-
threads or other defects. Replace all damaged or
ES.
defective parts.
(1) Removal and installation.
(a) Refer to figure 3-61, remove items 1 and
3-73. Fuel Line and Breather (Crane Model
2, and drain filter.
855BG3 Only)
(b) Remove items 3 and 4 and remove filter
and bracket from engine.
remove fuel line and breather. Install in reverse order.
(2) Disassembly and reassembly. Refer to figure
b. Cleaning and Inspection.
(1) Clean all parts with an approved cleaning
solvent and dry thoroughly.
3-68


