DETROIT DIESEL 53
Fuel Injector 2..1.1
bottom helix and lower portion of the upper helix, if
chipped, that will not be indicated in any of the tests.
5. Reinstall the plunger, follower and spring.
Remove the plunger from the injector as follows:
NEEDLE VALVE TESTS
Remove the injector nut and remove all of the parts
1. Support the injector, right side up, in holding fixture
below the injector bushing as.
outlined under
J 22396.
Disassemble Injector.
2. Compress the follower spring. Then raise the spring
Clean all of the carbon off of the spray tip seat in the
above the stop pin with a screw driver and withdraw the
injector nut as outlined under Clean Injector Parts.
pin (Fig. 11.). Allow the spring to rise gradually.
If the spray pattern test indicated that tip cleaning is
3. Remove the injector from the holding fixture. Turn
necessary, clean the carbon from the tip cavity below
the injector upside down, to prevent the entry of dirt, and
the needle valve and orifices as outlined under Clean
catch the spring and plunger as they drop out.
Injector Parts.
4. Inspect the plunger. If the plunger is chipped (Fig.
With the injector nut and spray tip cleaned, assemble
12.), replace the plunger and bushing assembly.
the check valve, check valve cage, spring, spring seat,
spring cage, needle valve and tip assembly on auxiliary
tester J 22640 (Fig. 13.). Carefully pilot the injector nut
over the spray tip and valve parts and thread it on the
body as shown in Fig. 13. Tighten the injector nut to
75-85 Ib-ft torque.
Install the shield in the auxiliary tester as shown in Fig.
14. and operate the pump handle until the spray tip
valve has opened several times to purge the air from
the system.
Operate the pump handle with smooth even strokes (40
strokes per minute) and note the pressure at which the
needle valve opens. The valve should open between
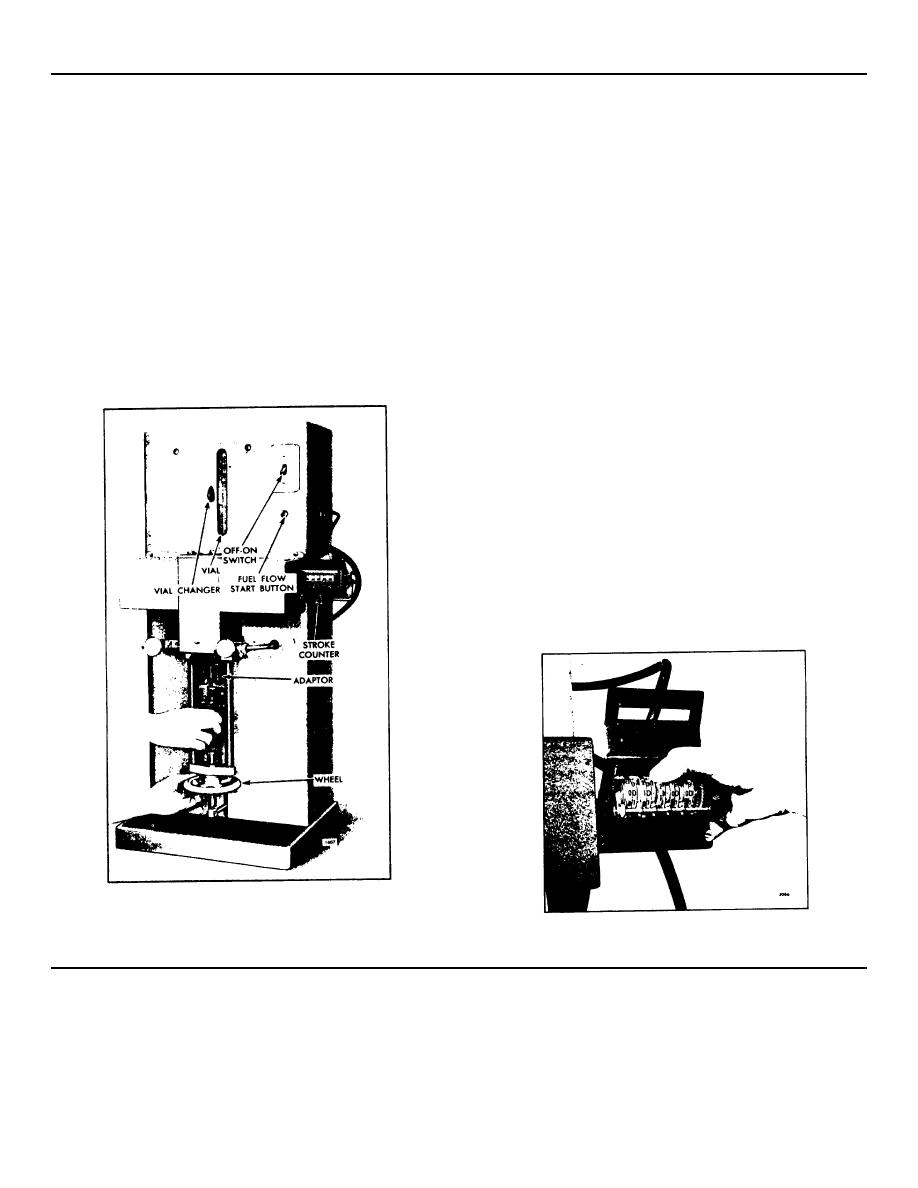
Fig. 17. - Placing Injector in Comparator
J 7041
Fig. 18. - Setting Comparator Stroke Counter
1972 General Motors Corp.
July, 1972
SEC. 2.1.1 Page 9


