TM 5-3810-295-34
(8) Refer to figure 12-2 and attach a suitable lifting
verter mounting bolts and lift the assembly from the
device to the torque converter. Remove torque con-
engine.
NOTE:
USE A SUITABLE LIFTING DEVICE AND REMOVE
TORQUE CONVERTER ASSEMBLY.
TA033236
Figure 12-2. Carrier torque converter mounting.
c. Installation
haust pipe, muffler, air cleaner, duct, shroud and deck
(1) Refer to figure 12-2 and place torque converter
plates previously removed.
in position on carrier engine with a suitable lifting device.
(7) Refer to TM 5-3810-295-12 and attach radiator
Install torque converter mounting bolts.
hoses and fill the cooling system.
(2) Refer to figure 12-1 and attach a suitable lifting
12-7. Carrier Transmission Assembly
device to the engine. Place the engine and torque
a. General. The carrier transmission assembly is a
converter assembly on the carrier engine mounting
separate unit and can be removed without removal of the
brackets and install the engine mounting bolts.
torque converter and engine assemblies.
(3) Refer to paragraph 15-8 and connect the
b. Removal
universal joint from the torque converter to transmission.
(1) Refer to paragraph 15-8, and remove the
(4) Connect all hydraulic lines.
propeller shafts.
(2) Disconnect and tag all hydraulic lines.
(5) Refer to TM 5-3810-295-12 and connect fuel
lines, engine wiring, air compressor lines, throttle
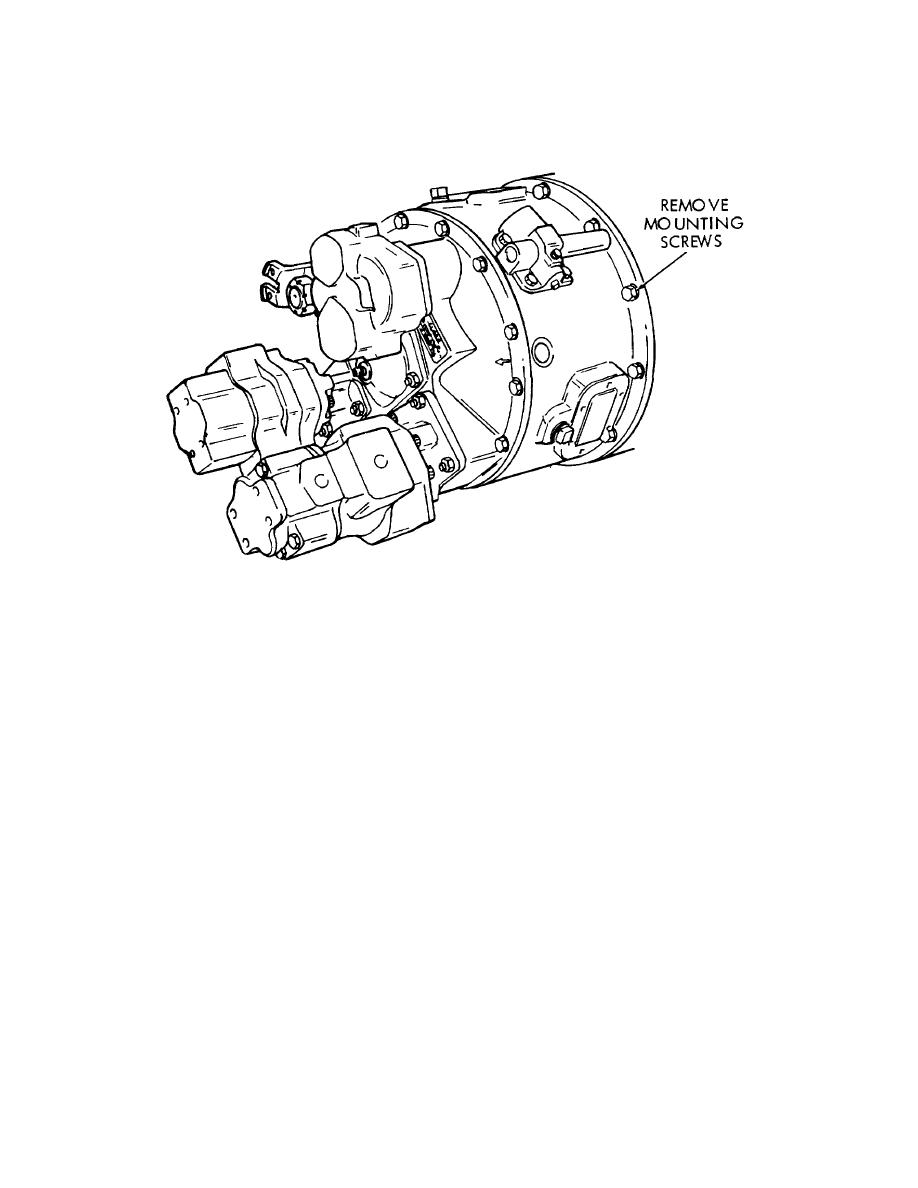
(3) Refer to figure 12-3 and with suitable support
linkage, and battery cables.
provided, remove transmission as shown.
(6) Refer to TM 5-3810-295-12 and install the ex-
Change 1 12-3


