TM 10-1670-298-20&P
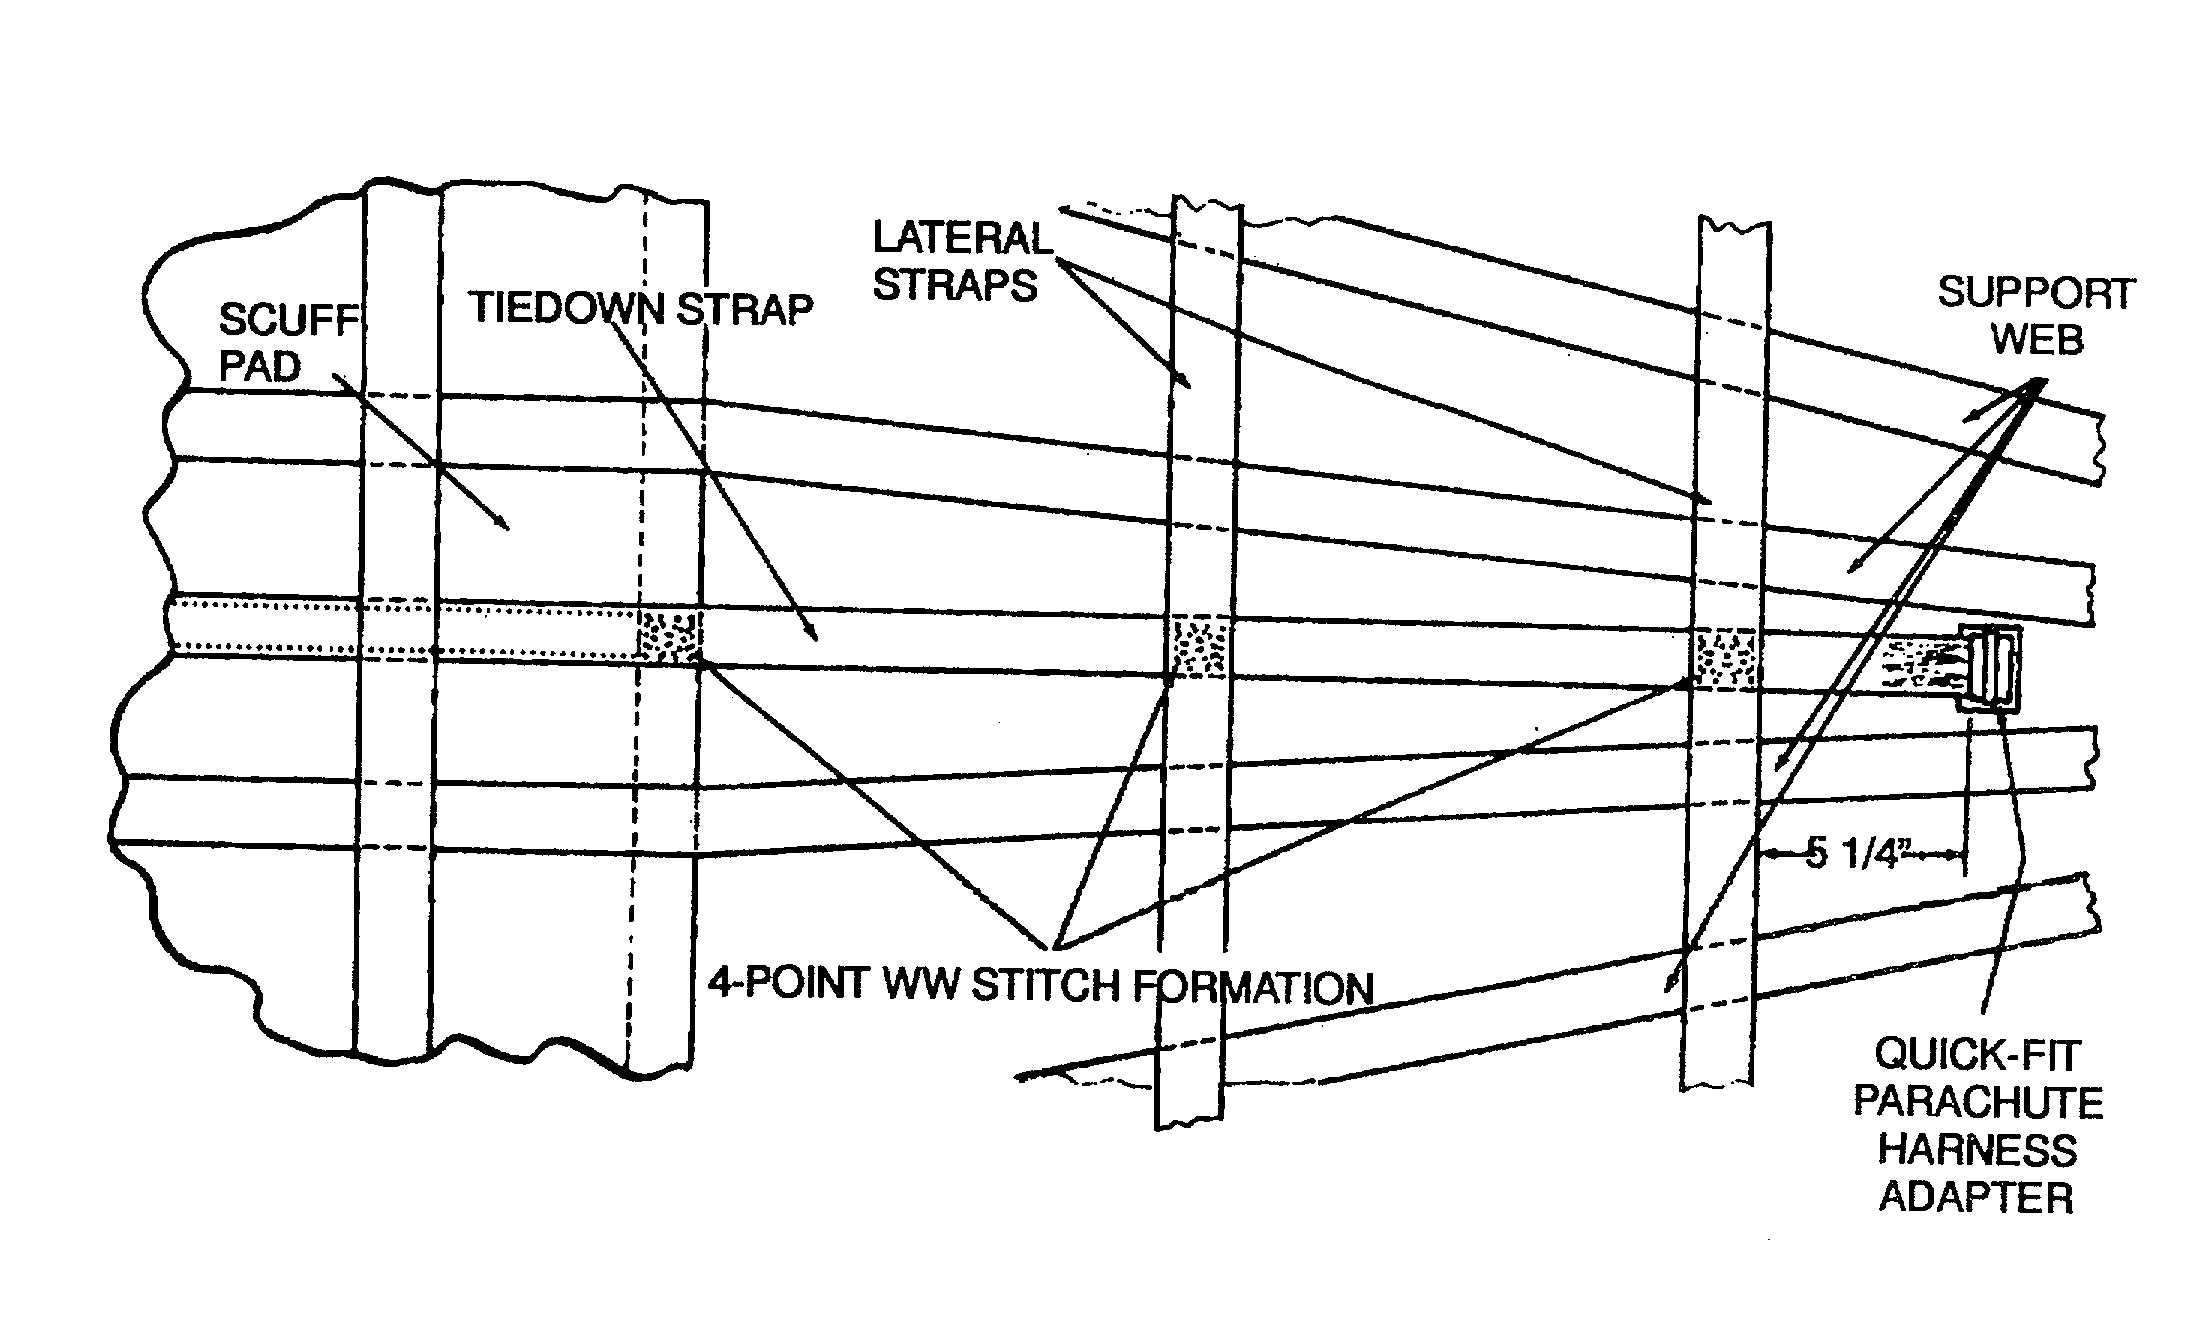
(5) Sew a 4-inch (10.160 cm), 4-point, WW stitch formation to the fold back end and over stitch the end one
stitch Stitching shall be performed as Indicated in paragraph 2.8 using the specifics in Table 2-3.
(6) Position the opposite end of the be-down strap replacement webbing in the original location as shown in
Figure 2-27 with 6-inches (15.240 cm) extending in beyond the lateral strap outside edge and sew a 6-
inch (15.240 cm), 3-point, WW stitch formation In accordance with paragraph 2.8, using the specifics In
Table 2-3.
Figure 2-27. Tie-down Strap Installation Details
e. Splicing a Damaged Tie-down on the Scuff Pad.
(1) Cut and remove the damaged portion of be-down strap webbing from the scuff pad
(2) Cut a length of Type VII nylon webbing long enough to extend 6-inches beyond each end of the
damaged area and sear the end as applicable.
(3) Center the splice material over the damaged area and stitch with a 6-inch (15 240 cm), 3-point, WW
stitch formation at each end of the splice with one stitch Sew two rows of straight stitching, 1/4-inch (0.
635 cm) in from each edge of the splice between the ends of the splice matenal. All stitching shall be
performed as indicated in paragraph 2.8 and Table 2-3.
2-52


