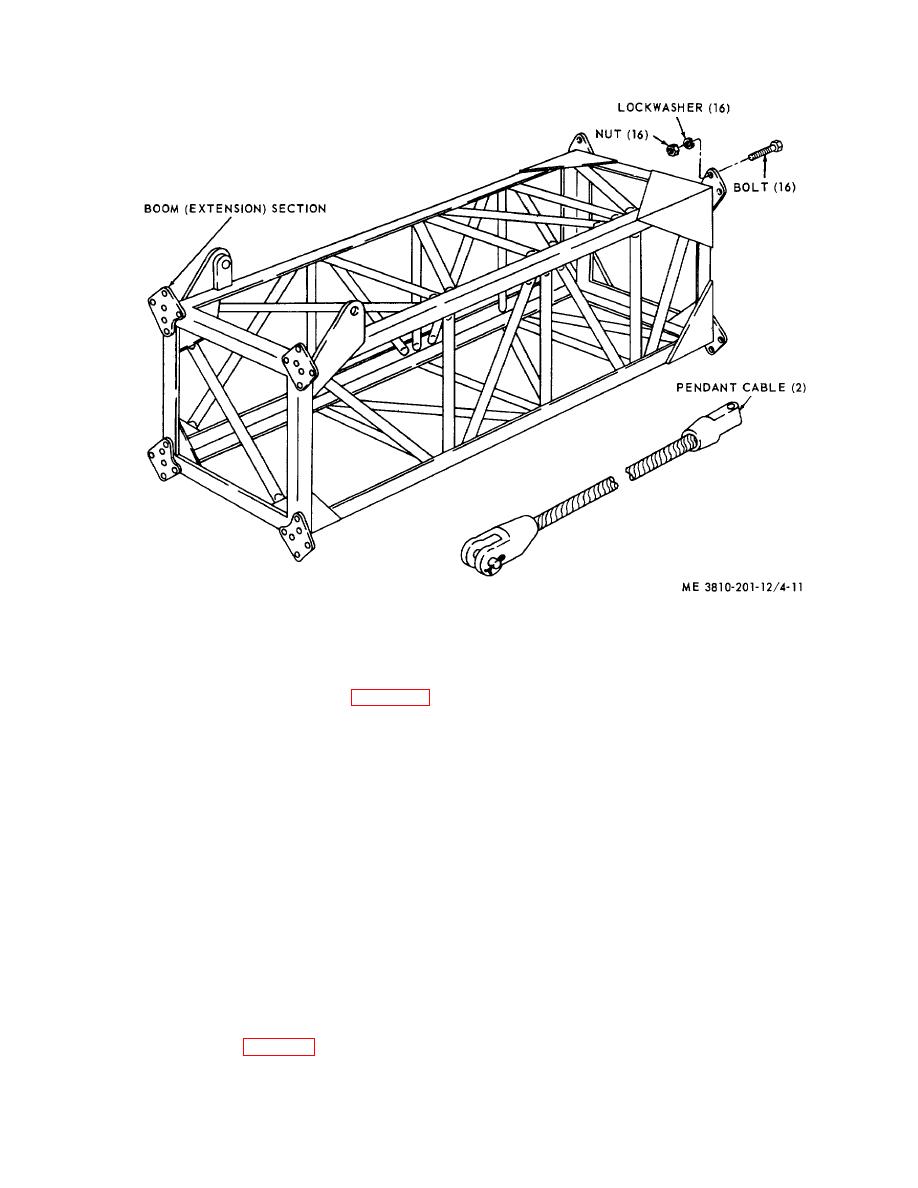
Figure 4-11. Boom (extension) section, removal and installation.
(2) Remove four nuts, lockwashers, bolts,
from the 25 foot cables by removing cotterpins and pins
and two plates securing left end of tagline winder to
from rope sockets.
boom.
(7) Remove boom point sheaves (para 4-20)
(3) Remove four nuts, lockwashers, two U
from upper section.
bolts, and two plates securing right end of winder to
(8) Reassembly by reversing steps (7)
boom, then lift tagline winder from boom.
through (1) above.
b. Cleaning and Inspection.
Note.
(1) Clean tagline winder with an approved
When boom (extension) section is
cleaning solvent and dry thoroughly.
not used, eliminate steps (5) and (6)
(2) Inspect mounting hardware for burrs,
above.
stripped threads, or cracked plates. Replace defective
c. Cleaning, Inspection and Repair.
hardware. Replace a defective tagline winder.
(1) Clean all parts in an approved cleaning
c. Installation.
solution and dry thoroughly.
(1) Position tagline winder in boom, install
(2) Visually inspect all parts for signs of
two U bolts, and two plates, then secure right end of
excessive wear, damaged threads, scored bushings,
winder with four lockwashers and nuts.
damaged bearings, or other defects.
(2) Install two plates, four bolts, and four
(3) Repair by replacing worn or defective
lockwashers, then secure left end of winder to boom
parts.
with four nuts.
(3) Install tagline on winder, then attach line
4-14. Tagline Winder
to clamshell buchet.
a. Removal.
(1) Disconnect tagline from clamshell bucket
4-15. Boom Harness Spreader
and remove line from reel (fig. 4-12), or wind on reel
a. Removal and Installation.
and secure loose end.
4-12


