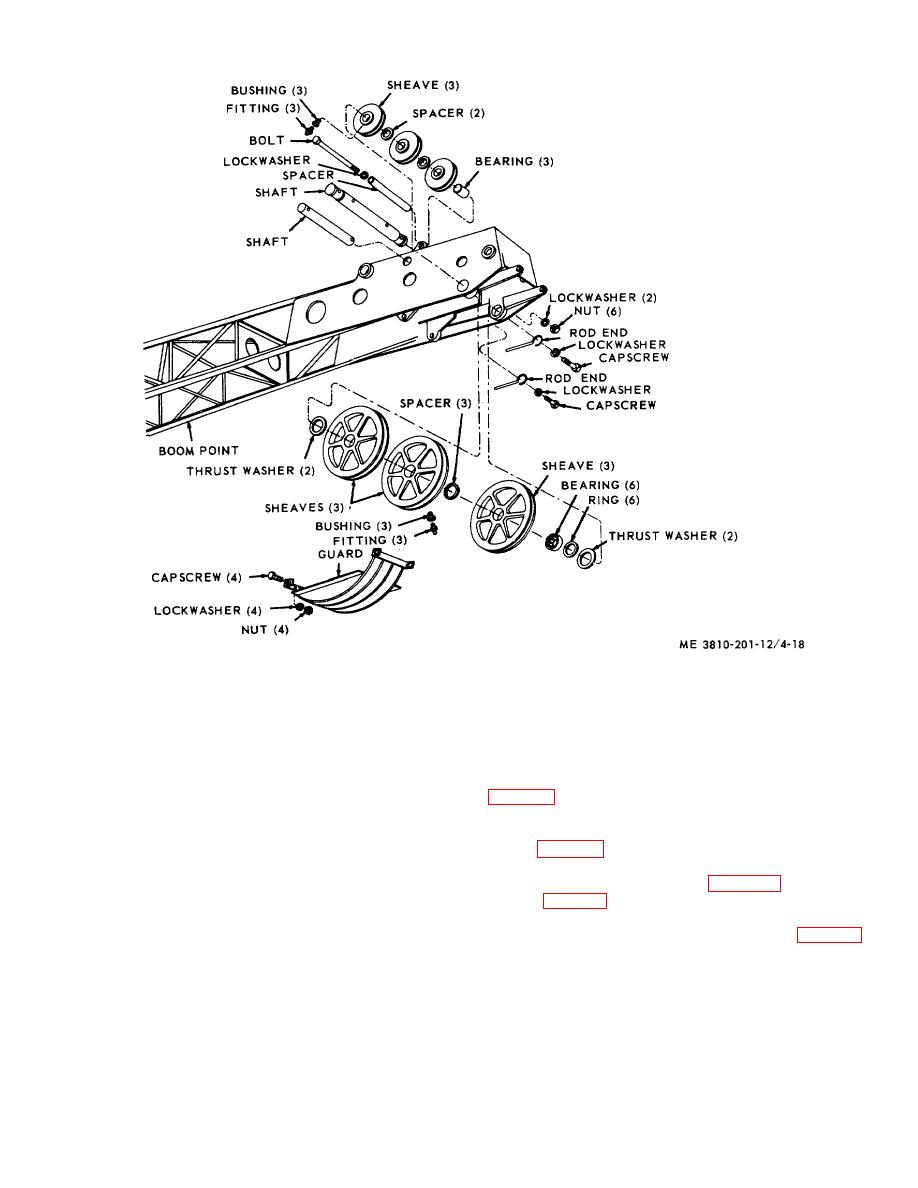
Figure 4-18. Boom point and idler sheaves, removal and installation.
(5) Remove capscrew, lockwasher, and rod
4-21. Jib Boom, Strut, and Sheaves
end that secures boom point sheave shaft, drive out
a. Installation. When use of jib boom is required, it
shaft, then remove spacers and sheaves.
will be installed as follows:
(6) Remove four nuts, lockwasher, and
(1) Build cribbing at end of cribbed jib boom
capscrew, then remove guard.
boom.
unless replacement is required.
(2) Lower hook block to ground, remove two
clamps (fig. 4-20) from hoist cable, remove hook block,
b. Cleaning, Inspection, and Repair.
then wind hoist cable onto drum.
(1) Clean all parts with an approved cleaning
(3) Lower crane boom (para 2-12b) to rest on
solvent and dry thoroughly.
cribbing (fig. 4-19).
(2) Visually inspect all parts for signs of
(4) Move jib boom into position over crane
excessive wear, cracks, breaks, bends, or stripped
boom point and install jib to boom point pin (fig. 4-21)
threads.
then install keeper rod and secure with lockwasher and
(3) Replace all defective, damaged, or worn
capscrew.
parts.
(5) Install strut on jib boom, install two strut
c. Installation.
Install boom point and idler
pins, and secure pins with four cotterpins.
sheaves by reversing steps (1) through (6) in a above.
(6) Position pendant wire ropes at strut,
4-17


