c. Installation.
(1) Install glow plug (fig. 4-47) in
precombustion chamber by turning clockwise until
threads are seated finger tight.
(2) Use torque wrench or wrenching surface
and tighten to between 10 and 12 ft-lbs.
(3) Connect electrical lead and remove tag.
(4) Install remaining glow plugs in a similar
manner.
4-52. Winterfront
remove items (1), (2), and (3) then remove winterfront
from cab left hand wall. Install in reverse order.
remove items in numerical sequence. Reassemble in
reverse order.
c. Cleaning, Inspection, and Repair.
(1) Clean all parts with an approved cleaning
solvent and dry thoroughly.
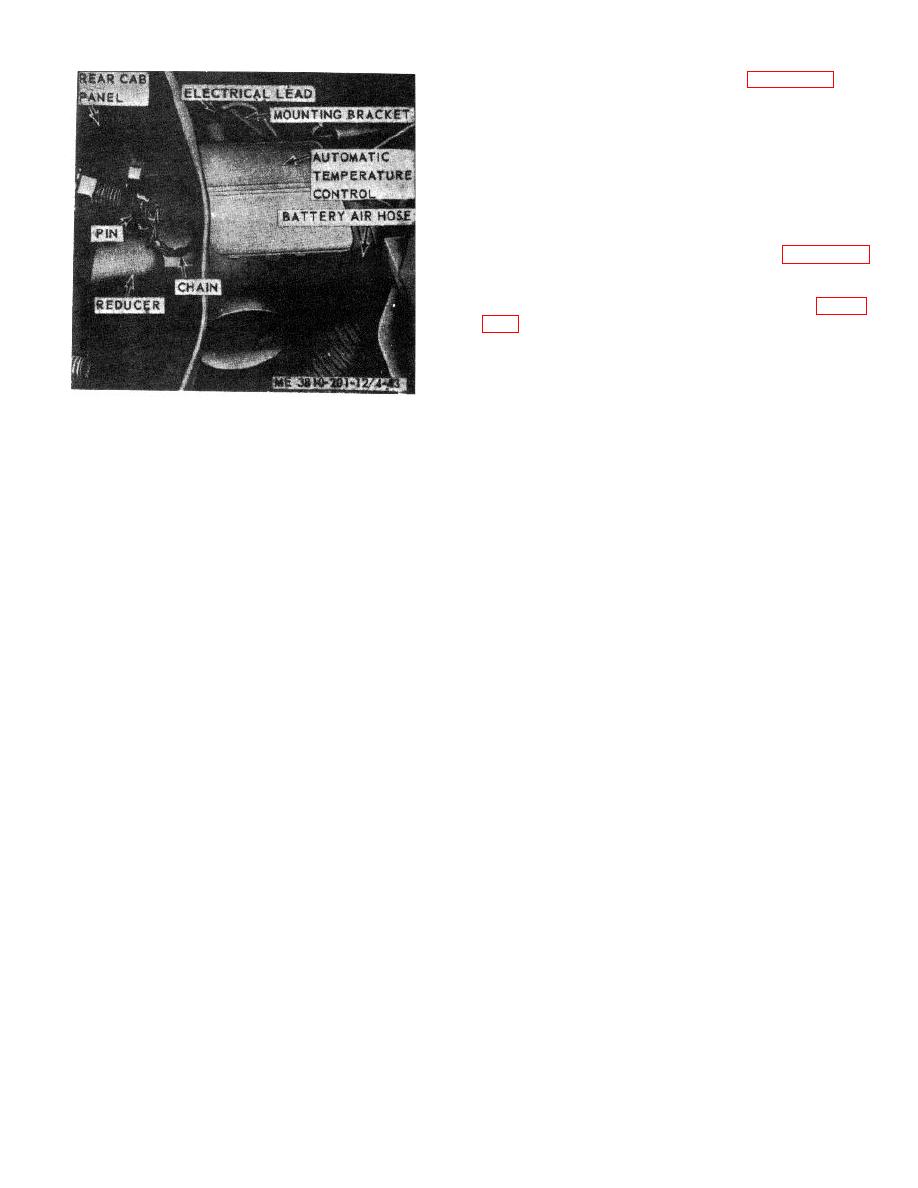
Figure 4-43. Battery heater automatic temperature
(2) Visually inspect all parts for bends,
control, removal and installation.
cracks, or other defect. Inspect mounting hardware for
burs or stripped threads.
(3) Repair by straightening bends, welding
may be tested by grounding threads at cylinder
cracks, and replacing defective mounting hardware or
head, attaching known 24vdc hot lead at glow plug
components.
terminal. If heat cannot be felt at tip, or plug fails to
glow, it is defective and must be replaced.
4-44


