b. Cleaning and Inspection.
NOTE: PRESS DOWN AND TURN
(1) Clean sending units and dry thoroughly.
COUNTERCLOCKWISE
TO
(2) Inspect for defects. Replace defective sending
REMOVE BUTTON.
units.
c.. Installation. Install temperature thermostat
and warning light sending units as illustrated in
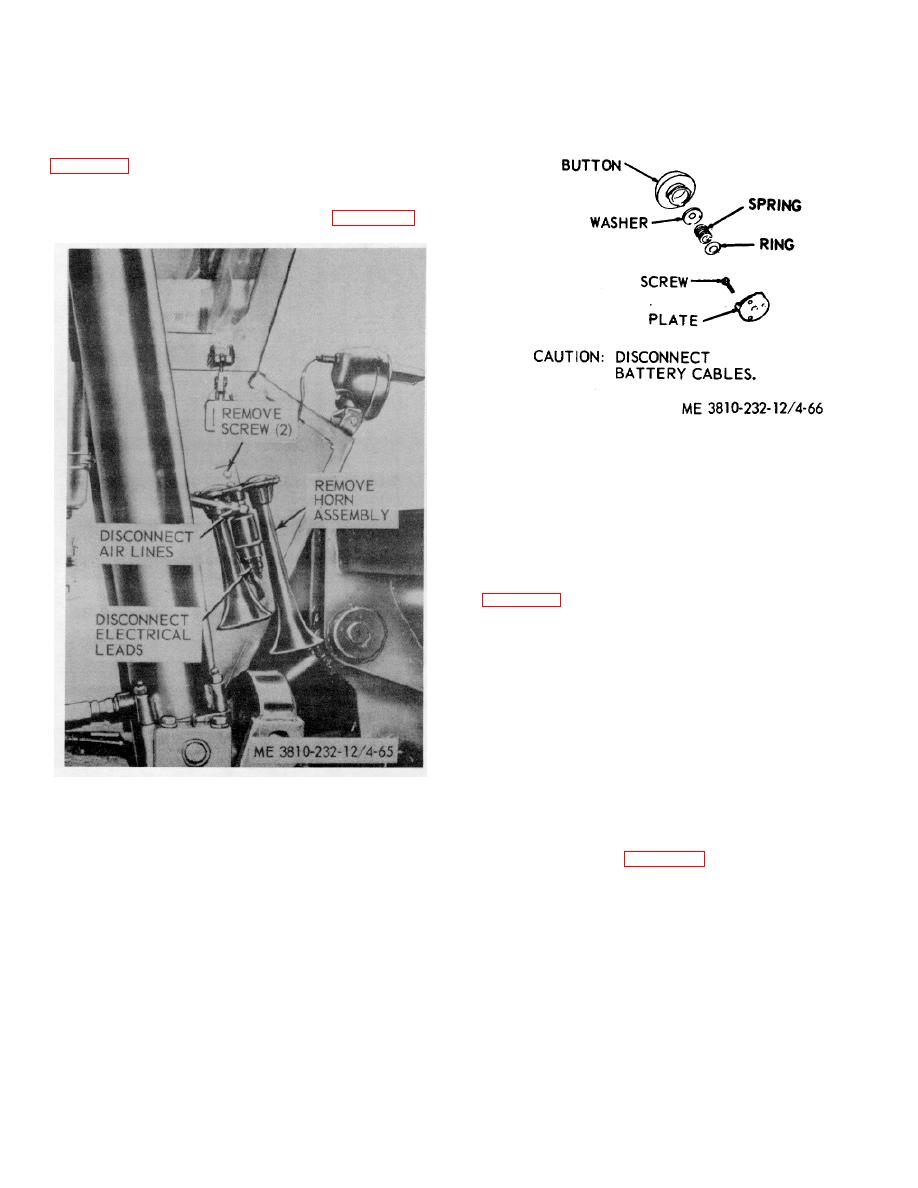
4-68. Horn and Horn Button Unit
a. Removal.
(1) Remove horn as illustrated in figure 4-65.
Figure 4-66. Carrier horn button unit, removal
and installation.
b.. Cleaning and Inspection.
(1) Clean all parts with a cloth dampened in an
approved cleaning solvent and dry thoroughly.
(2) Inspect for defects or damage. Replace
defective or damaged parts.
c.. Installation.
(1) Install horn button unit as illustrated in
(2) Install the carrier horn as illustrated in figure
4-65.
4-69. Carrier Cab and Chassis Wiring
a.. Inspection. Inspect wiring for frayed, cracked,
and oil soaked insulation, for broken wires, and for loose
or corroded connections.
b. Repair. Remove defective wire. Splice length of
wire needed to replace removed wire. Solder and tape
connections.
Figure 4-65. Carrier horn, removal and installation .
4-70, Service and Stop Blackout Taillights
(2) Remove horn button unit as illustrated in figure
(Model 2380)
4-66.
a. Removal Remove service and stop blackout tail-
lights as illustrated in figure 4-67.
4-71


