TM 5-3810-231-12
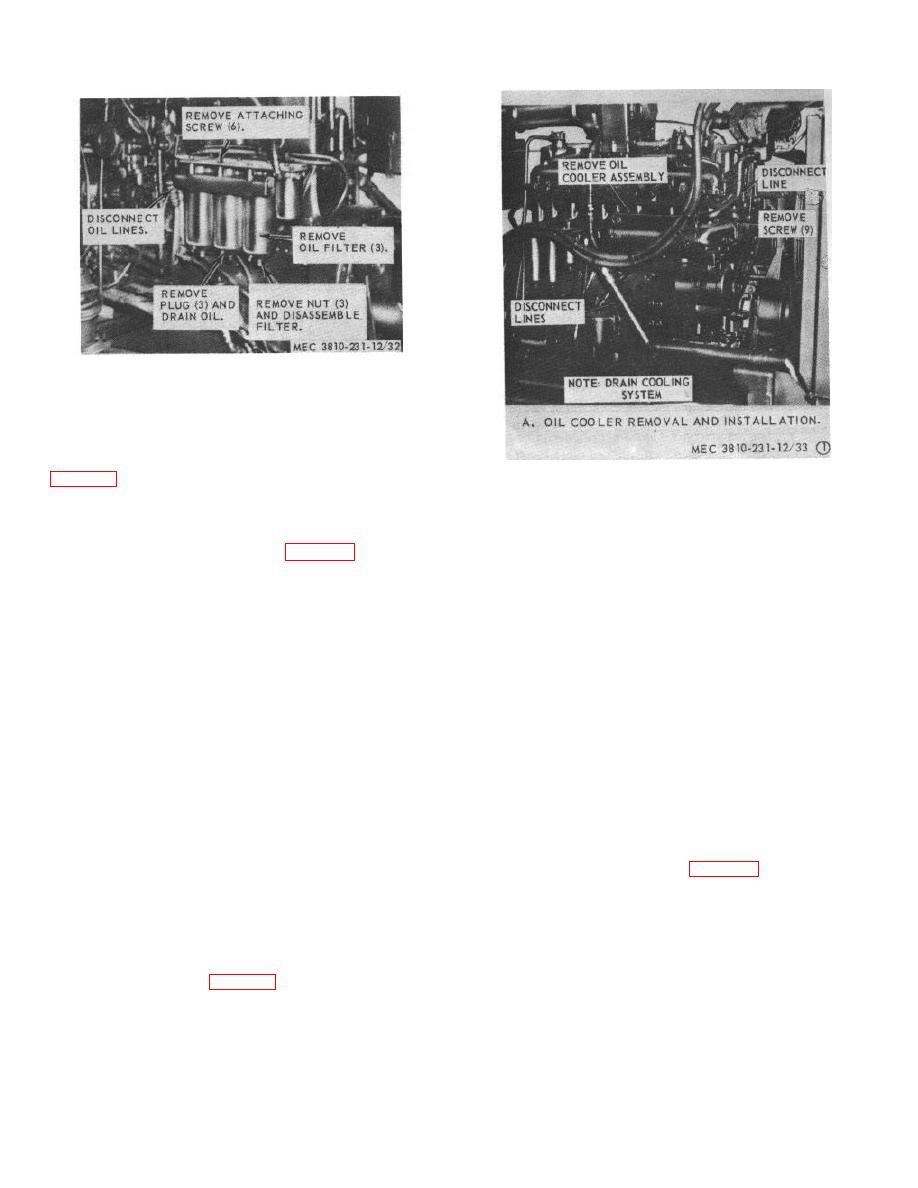
Figure 32. Oil filter, removal and installation.
(3) Repair or replace damaged or defective
parts.
c. Installation. Install oil filter as instructed in
1
Capscrew
17
Lockwasher
2
Lockwasher
18
Support
71. Oil Cooler
3
Connection
19
Capscrew
a. Removal and Disassembly.
Remove and
4
Gasket
20
Lockwasher
disassemble oil cooler as shown in figure 33.
5
Capscrew
,21
Capscrew
6
Lockwasher
22
Lockwasher
Caution:
7
Plug, pipe
23
Capscrew
8
Cover, cooler
24
Lockwasher
Be careful not to damage copper
9
Gasket
25
Support
tubes.
10
Ring, element retainer
26
Gasket
11
O-ring
27
Gasket
b. Cleaning, Inspection and Repair.
12
Hose
28
Ring, element
(1) Clean all parts in an approved cleaning
retainer
solvent and dry thoroughly.
13
Clamp
29 0-ring
14
Tube
30 Element, cooler
Caution:
15
O-ring
31 Plug, pipe
Do not use solvent that will harm
16
Capscrew
32 Housing cooler
copper. Do not use a mechanical
cleaning method such as scraping.
Figure 33. Oil cooler.
(2) Inspect all parts for cracks, breaks, and
72. Crankcase Breather
other damage.
a. Removal and disassembly.
Remove and
(3) Repair or replace damaged or defective
disassemble breather as shown in figure 34.
parts.
b. Cleaning, Inspection and Repair.
c. Reassembly and Installation.
(1) Clean all parts in an approved cleaning
(1) Always replace new O-ring and gaskets
solvent and dry thoroughly.
when reassembling.
(2) Clean vent tube, screens and baffle. Inspect
(2) Reassemble and install oil cooler as
for cracks, breaks, or other damage.
shown in figure 33.
(3) Repair or replace damaged parts as
necessary.
68


