TM 5-3810-307-24-1-1
NOTE
13.
Tag and disconnect the receptacles.
The round connectors are too large to go
14. Remove the rectangular connectors and wires
through the center of the hydraulic swivel.
(part of the superstructure wiring harness) and secure
They must be removed.
them and the round connector receptacles to the
turntable side plates.
6.
Tag each wire on connector 1. Using pin
removal tools listed in Section 14 - ELECTRICAL
15. Remove the bolt securing the swivel base to the
SYSTEM, remove the pins, with wires still attached,
mounting bracket.
and mark each wire with the pin socket number in the
connector. Collect the wires and secure into one
16. Remove three setscrews securing the swivel
bundle. Mark the bundle with the connector number.
core assembly to the center post.
7.
Repeat step 6 for connector 2.
CAUTION
When withdrawing the wiring harness
8.
Secure the rectangular connectors, and the
through the center of the swivel, ensure
wires from the connectors 1 and 2, so the harness can
the rectangular connectors do not get
be withdrawn through the center of the swivel.
caught and damaged.
9.
Remove the attachment screws and remove the
17. Remove the swivel and wiring harness from the
swivel cover and seal.
crane.
10. Tag and
disconnect
the
two
rectangular
connectors.
INSTALLATION.
11. Tag and disconnect the two round connectors
1.
Route the collector core wiring harness through
from the receptacles on the mounting plate.
the center of the hydraulic swivel, and insert the center
post into the base of the core assembly
2.
Install the bolt attaching the swivel base to the
mounting bracket, finger tighten.
NOTE
Area definition switches in the swivel will
not function at the proper time unless the
core assembly is positioned correctly.
3.
Rotate the collector core assembly on the center
post as required, so that the front of the core assembly
is aligned with the front of the crane.
4.
Secure the collector core assembly to the center
post by tightening three setscrews in the collector
core.
5.
Tighten the bolt securing the swivel to the
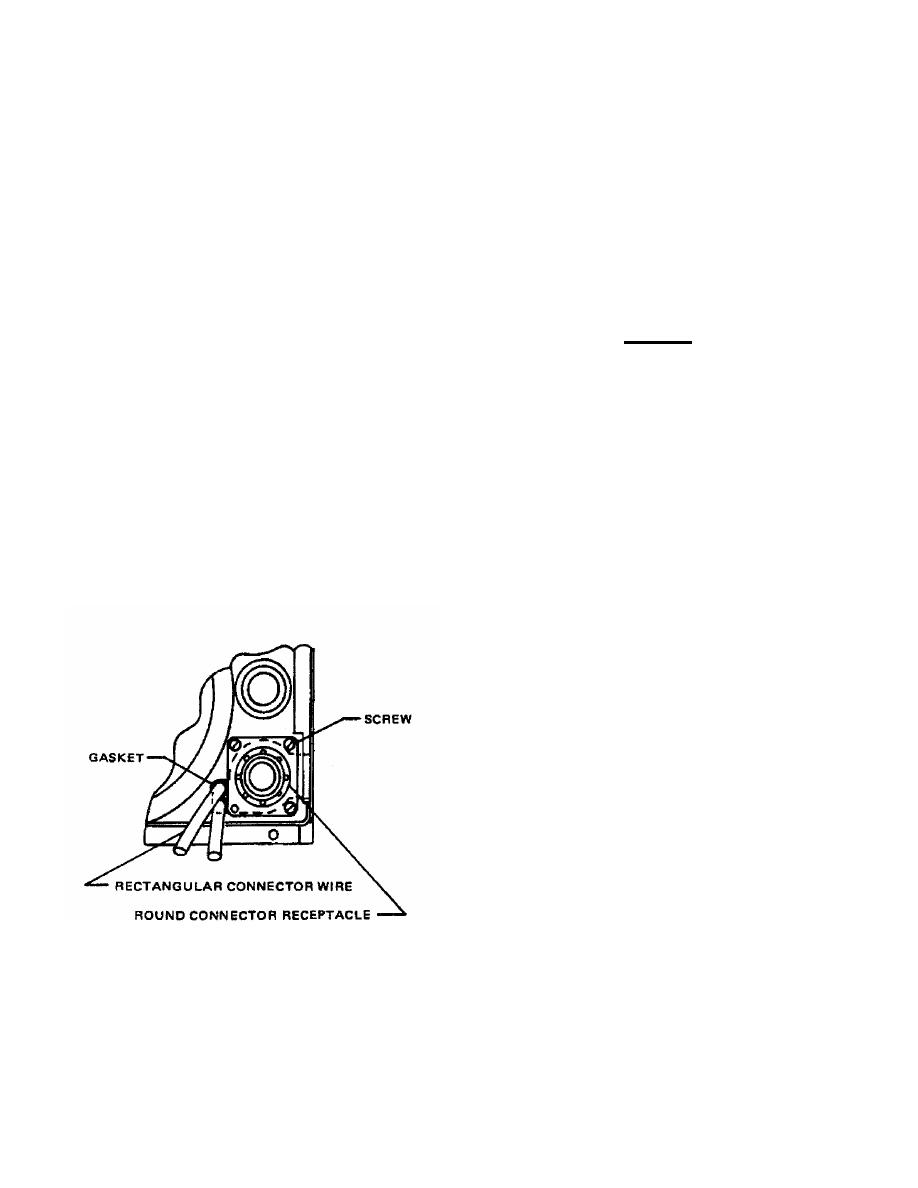
Figure 2-13-3. Connector Receptacle
bracket.
12. Remove the screws securing the
round
6.
Install the rectangular connectors and wires into
connector receptacles to the mounting plate.
the connector receptacle cutout on the mounting plate.
2-13-10


