d. Remove covering from tank opening, position
gasket and filter screen on tank adapter and secure with
(2) Clean thoroughly around filter cover and
six capscrews.
gasket to prevent dirt from dropping into filter when
e. Install filler cap.
cover is removed.
(3) Remove four nuts, lockwashers, and
3-15. Floodlight Adjustment and Lamp Replacement
flatwashers, then remove filter cover from housing.
(4) Remove filter element and gasket, and
a. Floodlight Adjustment.
discard.
(1) To change horizontal position loosen
(5) Remove rod and spring from housing,
locknut (fig. 3-14), move beam to desired position, then
then clean housing thoroughly by using a lint free cloth
tighten locknut.
dampened in an approved cleaning solvent. Wipe dry
(2) To change vertical position, loosen
with a clean cloth. Be sure all gummy sludge has been
adjusting nut, move adjusting bracket until beam is in
removed.
desired position, then tighten adjusting nut.
(6) Install rod, place spring over rod and seat
it around boss in bottom of housing, then install a new
b. Lamp Replacement.
filter element.
(1) Remove three screw and lockwasher (fig.
(7) Install new gasket on housing, position
cover on studs, and secure with four flatwashers,
(2) Remove three screw and lockwasher from
lockwashers, and nuts.
plate on rear of retainer, remove plate, then, remove
(8) Install drain plug, prime fuel system (para
lamp and packing from lamp retainer.
Discard
unserviceable lamp.
(3) Install packing in retainer, install new
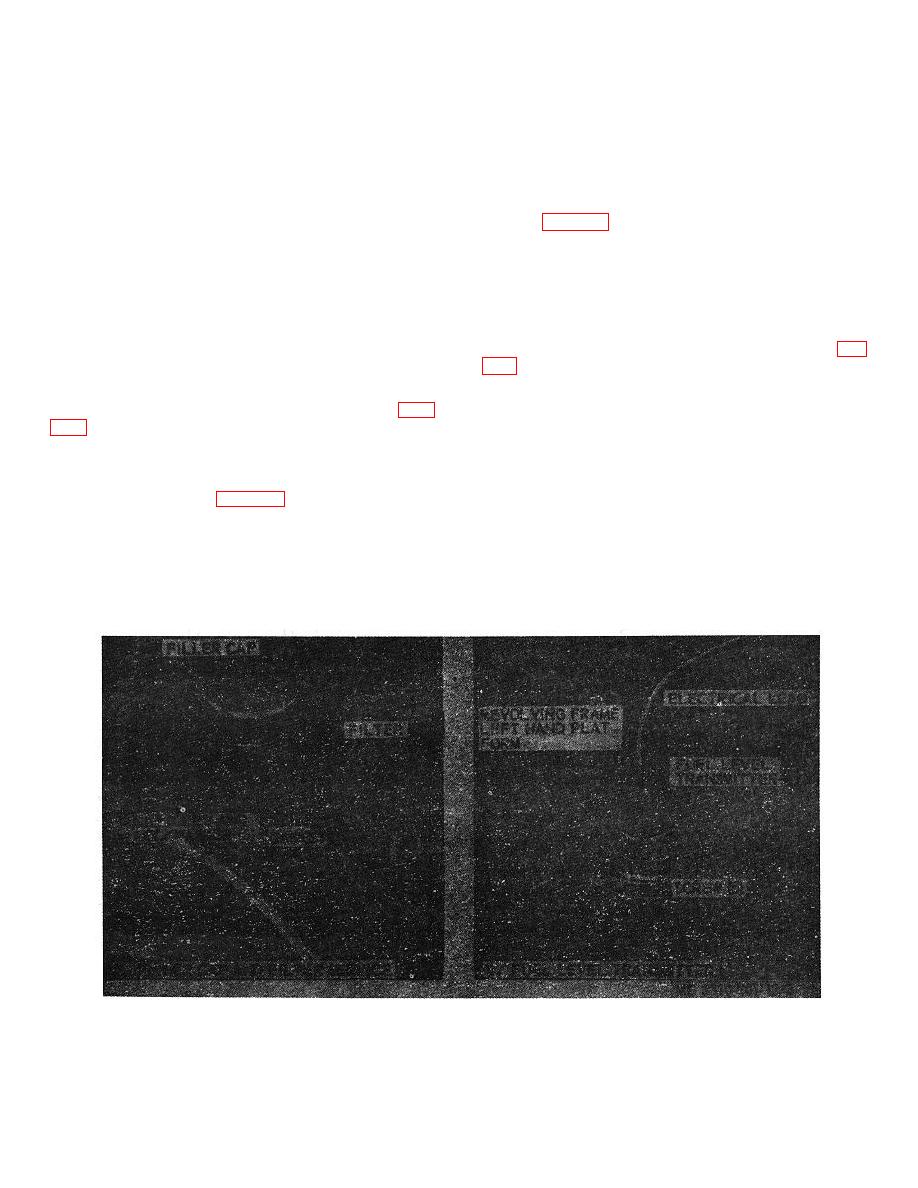
3-14. Fuel Tank Filler Cap and Filter Service
lamp; position plate on retainer, then secure with three
lockwasher and screws.
(4) Position lamp retainer on floodlight body,
so that lamp prongs engage socket in body, then secure
filter and gasket from fuel tank. Cover fuel tank opening
retainer to body with three lockwasher and screws.
to prevent dirt entry. Open draincock in bottom of fuel
tank, drain sediment, then tighten draincock.
c. Clean filter screen in an approved cleaning
solvent and dry thoroughly with compressed air. Be
sure all foreign material is removed from filter screen.
Figure 3-13. Filler cap and filter service.
3-26


