16. Recheck set-up and become
20. Expand stones and guides firmly
familiar with hone mechanism and stroke.
Check
against cylinder walls by turning winged collar clockwise on
manufacturer's instructions packaged with components.
top of pinion assembly. Do not tighten too tight.
21. Apply honing oil freely to stones,
guides and cylinder walls with brush or oil can after
attaching hone to quick coupler.
22. Grasp drill handles of a heavy
duty drill with a 300 rpm no-load speed firmly and turn on
motor. Let extension handle contact vertical stand to absorb
torque of motor. Use hand or. handle (with switch) to keep
drill and hone over center of liner.
23. Stroke as follows: Move to
bottom of bore and bring hone up half-way in bore. Then go
back to bottom of bore. On next upstroke come all the way
to top (let stones extend more than 1/2 inch out top of bore)
and return to bottom repeating double stroke in bottom of
bore. After 6 to 8 strokes have been made to top of bore,
double stroke both top and bottom of bore. This action
removes stock faster at opposite ends of bore removing
tapered condition of liner. The first honing cycle should last
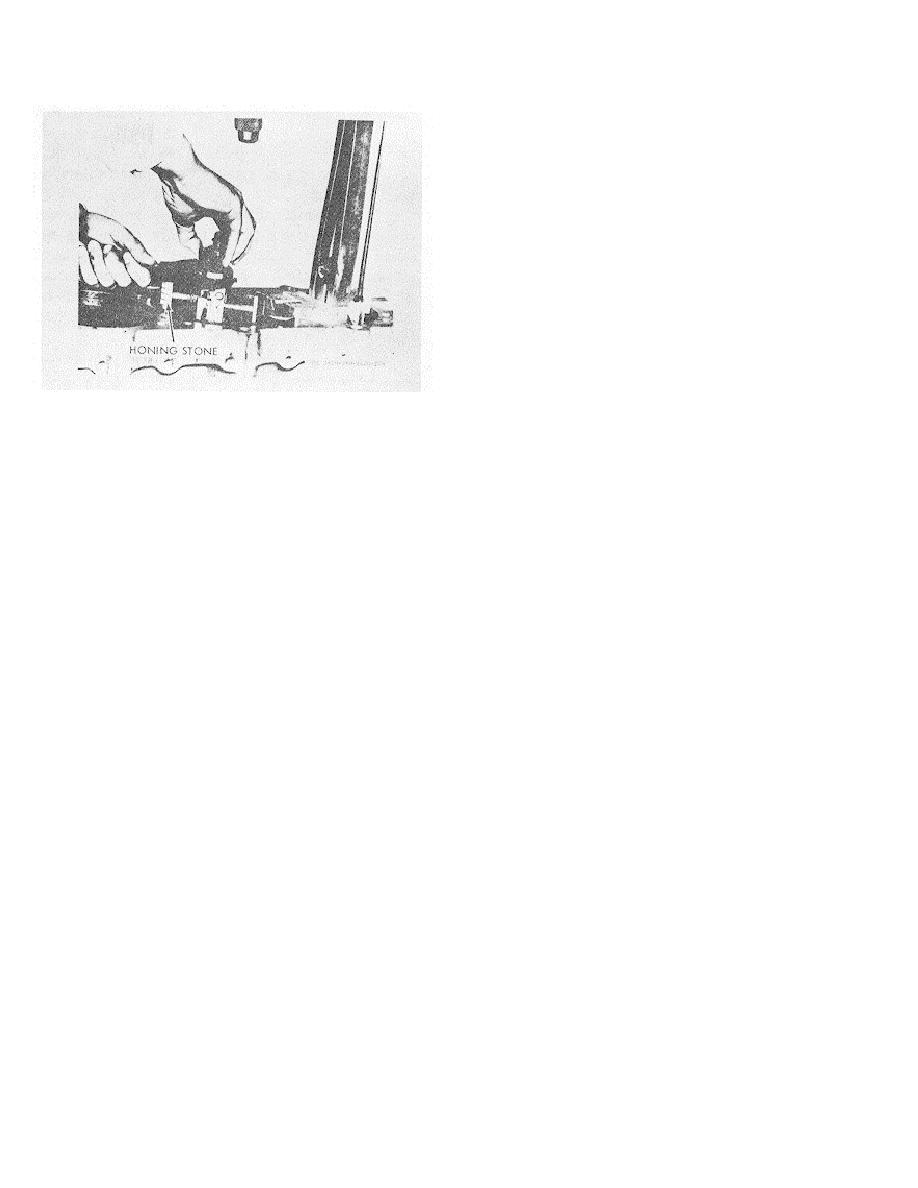
Figure 3-269. Initial honing stone expansion.
only 10/15 seconds; then shut off drill and check for results.
At first it may be wise to remove hone and check with dial
Check liner in honing fixture to make
bore gage to become familiar with cutting speed of stones.
sure it is secure.
Make a visual inspection of bore frequently and add oil to
18. Check liner with dial bore gage
keep stones clean and rutting freely.
to determine how wear pattern must be removed. In this
24. Apply honing oil and operate for
case, assume that liner has a slight ring at top, 0.002 inch
another 10/15-second cycle, if needed, double stroking
wear and out-of-roundness in ring travel area.
either end that is smaller in diameter than ring area. This
It tapers in at bottom of bore due to lack of wear in that area.
19. Assemble hone to liner bore.
Expand stones to diameter of cylinder bore.
3-95


