TM 5-3810-305-23
0068
INSTALLATION
NOTE
Installation of vehicle bubble level is critical to the proper operation of vehicle and must be
installed properly.
1.
Lower outrigger pads and raise tires off ground. Clean machined surface of frame around swing pinion.
2.
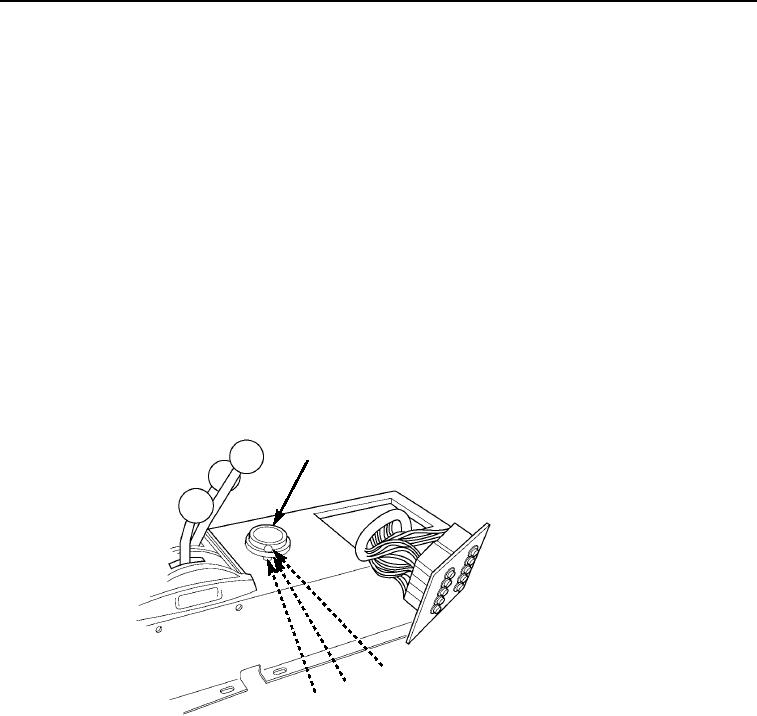
Place a vehicle bubble level (Figure 2, Item 1) on the machined surface of frame next to swing pinion.
3.
By raising or lowering outrigger pads, level the frame in both side-to-side and front-to-rear directions.
4.
Install three screws (Figure 2, Item 2) in vehicle bubble level (Figure 2, Item 1).
5.
Install two nuts (Figure 2, Item 4) then one new lockwasher (Figure 2, Item 3) on each screw
(Figure 2, Item 2). Tighten two nuts on each screw up to vehicle bubble level (Figure 2, Item 1).
6.
Position machined vehicle bubble level (Figure 2, Item 1) and start screws (Figure 2, Item 2) in mounting holes.
7.
Adjust three screws (Figure 2, Item 2) until bubble in vehicle bubble level (Figure 2, Item 1) is centered in
center circle.
8.
Hold screws (Figure 2, Item 2) in place and tighten bottom nut (Figure 2, Item 4) and lockwasher
(Figure 2, Item 3) down against panel.
9.
Recheck vehicle bubble level on frame and vehicle bubble level (Figure 2, Item 1).
1
2
3
4
M0565105
Figure 2.
Vehicle Bubble Level Installation.
END OF TASK
03/15/2011Rel(1.8)root(maintwp)wpno(M00074)

